How I created this blog
Fri, Apr 24, 2020
I wanted to write a blog about my start-up story. For that I needed a blog. This is the story of its creation. From it’s name, to the design, to the implementation. The concepts and tools I used included.
01 Why I created this blog?
Make personal goals public to achieve them
Create inspiring blog articles for others
Establish contacts with potential customers
Get some Twitter Followers
02 The Name
The Name was the by far most time expensive process of the story.
I broke it down to a list of criteria (that every name has to fulfill) and some strategies (that helped me to create a name from a list of keywords).
Name Criteria
- Is it short & memorable?
- Is the Twitter free?
For me Twitter is personally important. This could be any Social Media Network. - Is the Domain free?
I checked this with the Beast Mode Search from Namecheap as it’s very handy to check only for a specific set of domains. - Is the name used from another one?
You can do a quick Google search for that and/or use the TMView tool. TMView is a tool by the European Union and you can use it to check if there is any Trademark on a specific phrase (worldwide) without having to check each register manually. - Does the name feel good (for myself and no one else)?
This is important. The oppinions of others are generally helpful, but there are situations when they can distract you and their oppinion can lead to bad decisions. This is one of the situations. - The Name doesn’t have to be perfect
I wanted to spend my time writing this blog not wasting my time to find the perfect name.
Strategies
- Combine Two Words e.g. Nomadlist
- Pronounce Words differently e.g. Traefik
- Spell Words wrong e.g. Google, Flickr
- Abbreviate Words e.g. Ivacy (from Privacy)
Then I made a collection of Keywords ranging from entrepreneur to wiwatu (don’t ask), applied some of the strategies on each keyword and checked if the resulting name meets the criteria.
After about 6 days staring at the keywords and checking each name, I finally found the perfect imperfect name.
Why “eitherway” as name?
I asked myself what is the worst possible case? If this idea of my business fails, what happens?
The answer is: I will probably lose 80€ (cost of domain + business license) and gained a lot of experience. That doesn’t sound so bad.
What happens if the dream comes true? I think the answer to this is clear. Everyone wants to achieve their goals.
So: Either way I will profit from it.
03 The Design
The Design had to be easy to implement yet beautiful. Usually I would go directly to implementation and design directly with CSS. This takes me very long to find a look that is good enough. As I wanted to launch as fast as possible, I tried a different approach this time.
I designed everything first in Affinity Designer (Adobe Illustrator Alternative) and only after that I started implementing it.
To make the design process even easier (and stop procrastinating), I used the following concept:
- Identify the most needed thing
- Break it down.
- Do it!
- Repeat
The thing that I needed the most was an avatar. I didn’t wanted to use a real photo, because of various reasons. So I tried, searched for inspiration, tried again, searched again and after 5 attempts the monster avatar was born.

This lead to an idea. What if the eye of this little monsta, could move?
An day of work later, a working prototype in html was born:

I decided to start with the colors as this seemed to be an easy task. From that I designed an example blog post (as I think this is the most important/needed thing on a blog). The first attempt looked like that:
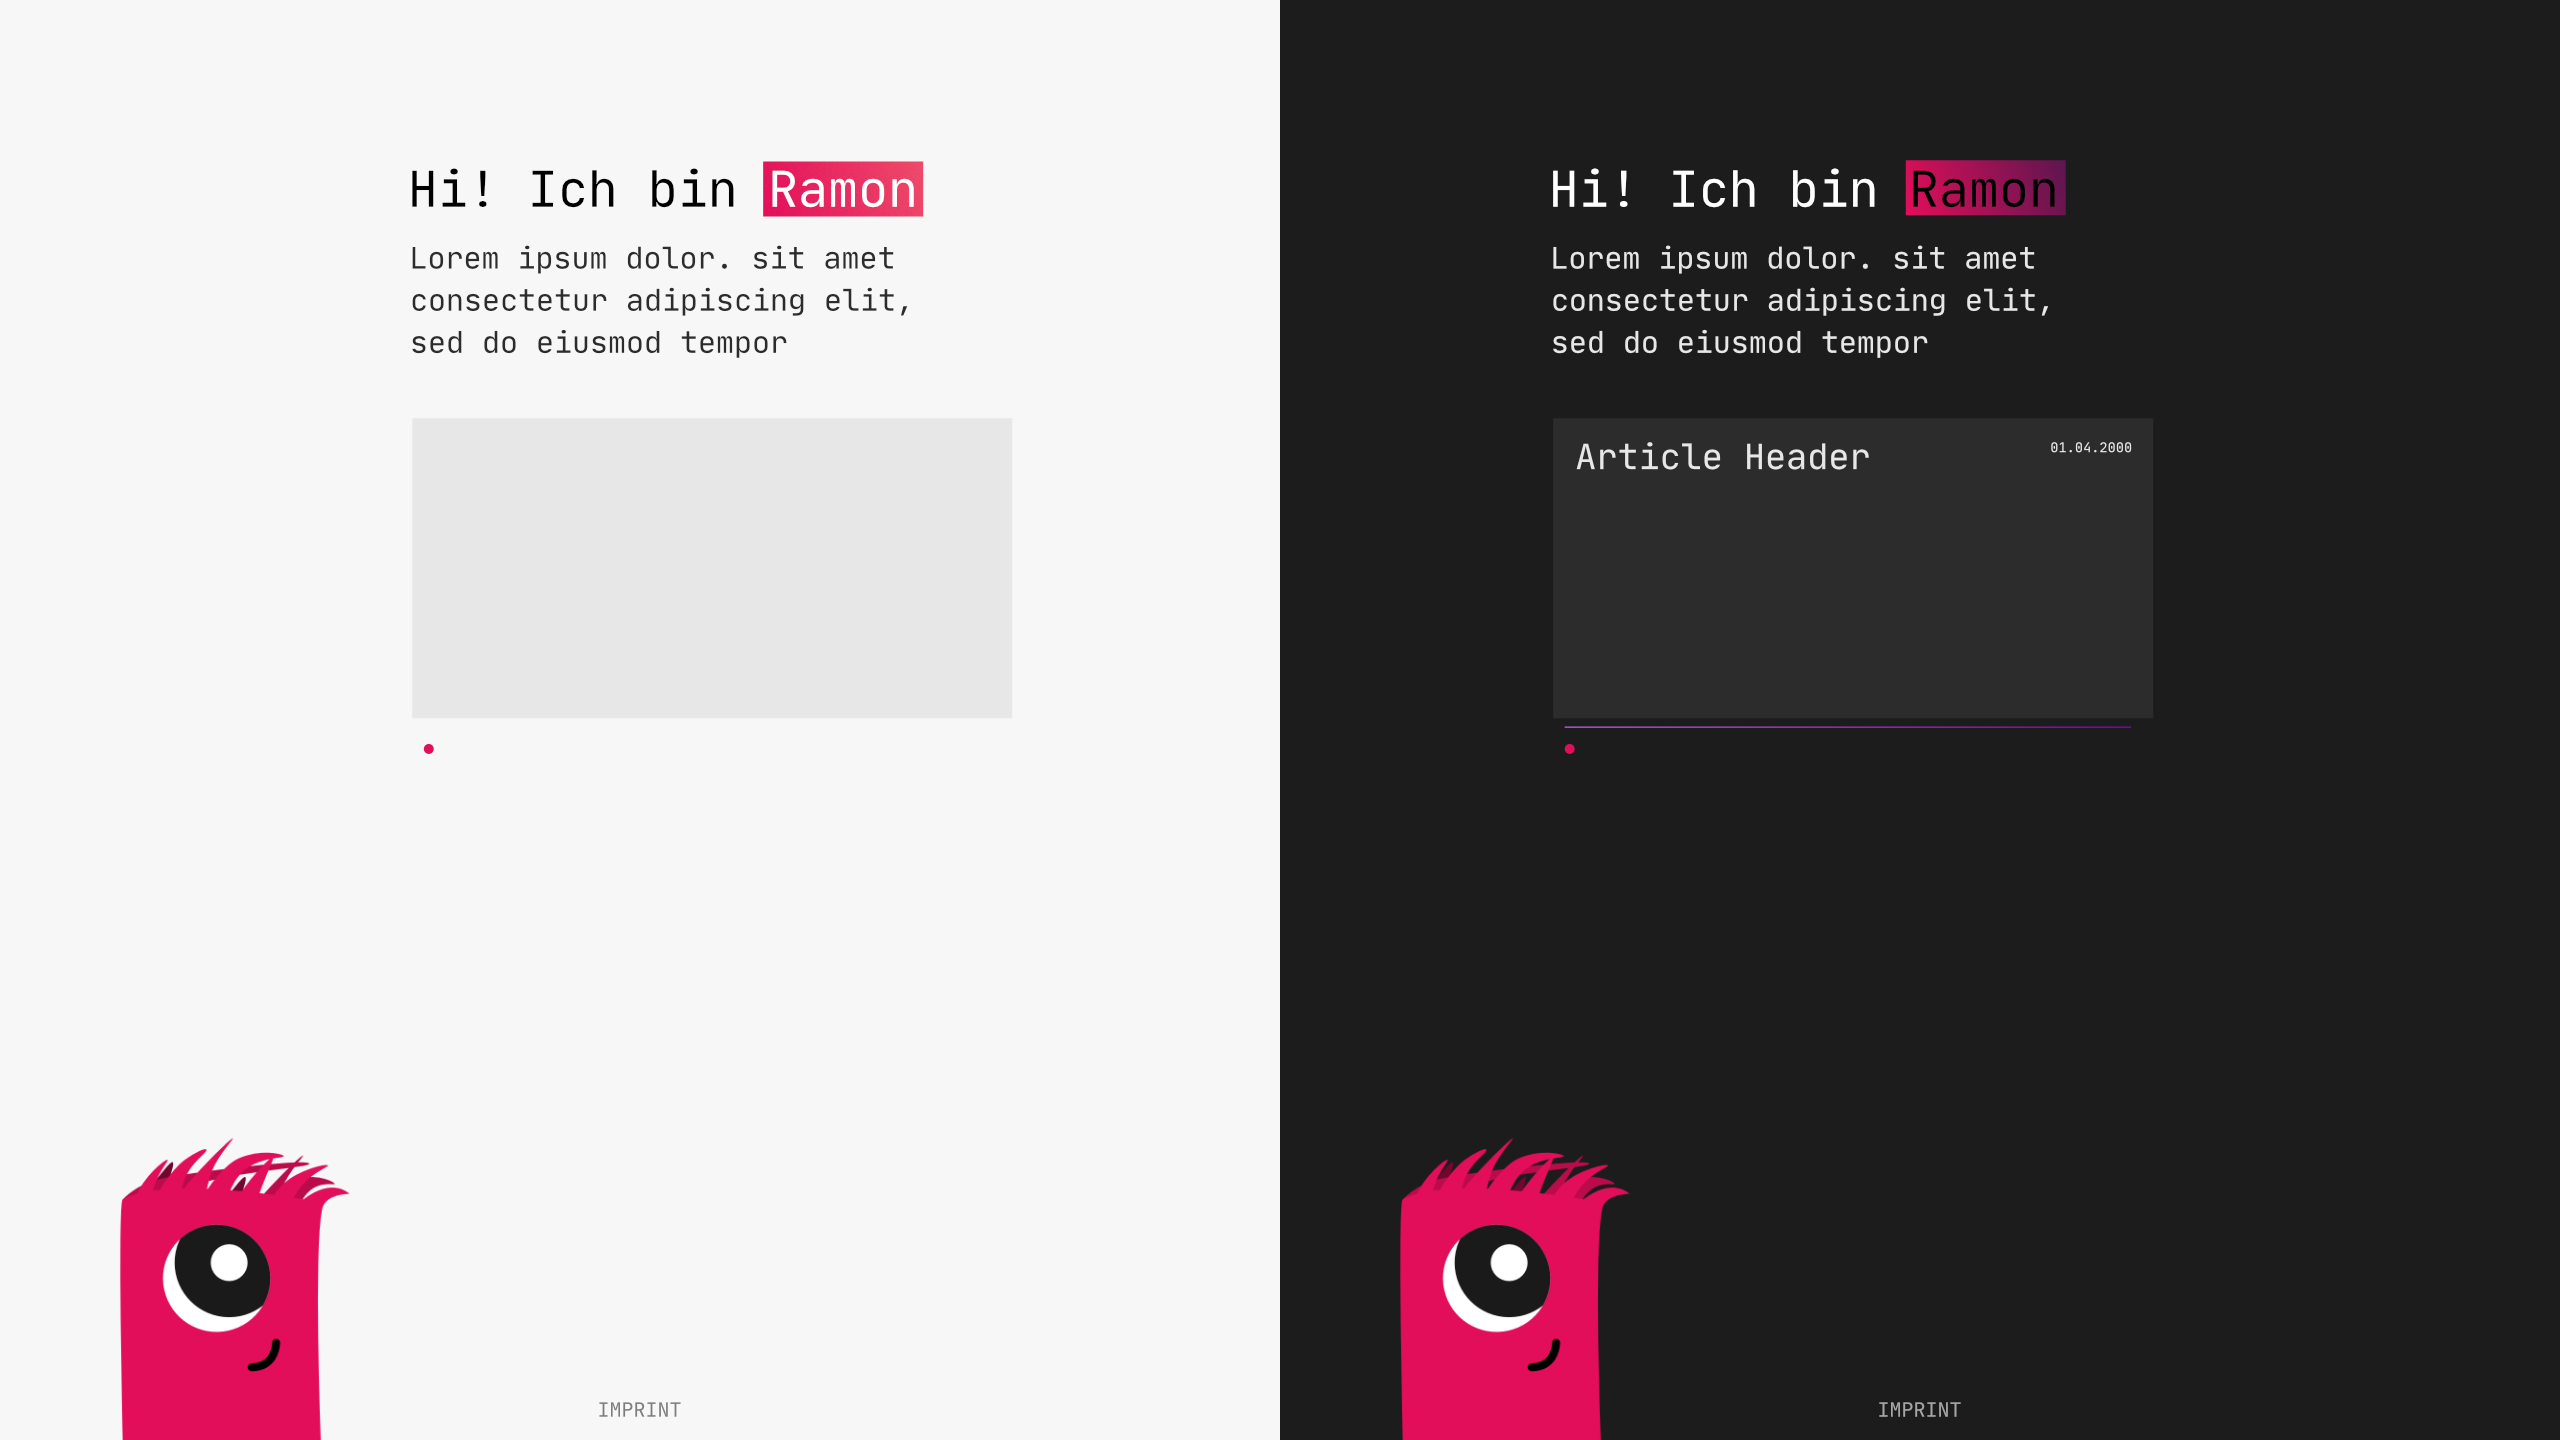
I chose the elements that I needed the most in a post: headings, code blocks, lists, quotes and images.
Initially I created the eye-moving avatar just for fun, but I thought it was a nice extra to this website so I added it. From there it went really fast to the design you currently see.
04 The Tools / Implementation
As I wanted this site to be simple and easy. I decided to use Hugo. Hugo is a static-site generator.
Which means that in contrast to a traditional dynamic CMS (like WordPress) there is no server-side processing required. You give Hugo a theme and some content files (e.g. in markdown), and Hugo generates a website (e.g. boring simple html) from it. You upload the files to a web storage and you have a website. Boom. No PHP or NodeJS needed.
So Hugo is in the neat spot between: Writing all HTML files manually and installing/maintaining a dynamic CMS.
As this is fairly simple (and i’ve never done it before), I thought this was optimal for this blog.
Because I’m only serving static files, I can use Github Pages to host this site (for free).
It’s important for me to have some metrics for this site. I am using Uptime Robot for checking the uptime of my webserver (although not entirely necessary for this site). For my analytics I use Simple Analytics. As the name states these are “simple” analytics and therefore perfect for this blog. But the main reason for them is: Privacy. Simple Analytics doesn’t collect any personal data from the users and only provides metrics that are really important for me. As I’m currently a student, I can get them 1 year free with the Github Student Developer Pack.
05 The End
If this looked like an ordered well thought process: It was not. It was all over the place. What I’m trying to say is, the aim of this post was to inspire you. I hope this was the case.
Questions? Feedback? Write me on Twitter.